Taking a photo for biometric purposes, like passport photos or ID pictures, may seem like a straightforward task. However, there are strict guidelines to follow to ensure that your photo meets the necessary standards. In this article, we’ll break down the essential steps and tips to help you take a photo that ticks all the boxes for biometric guidelines.
What Are Biometric Guidelines?
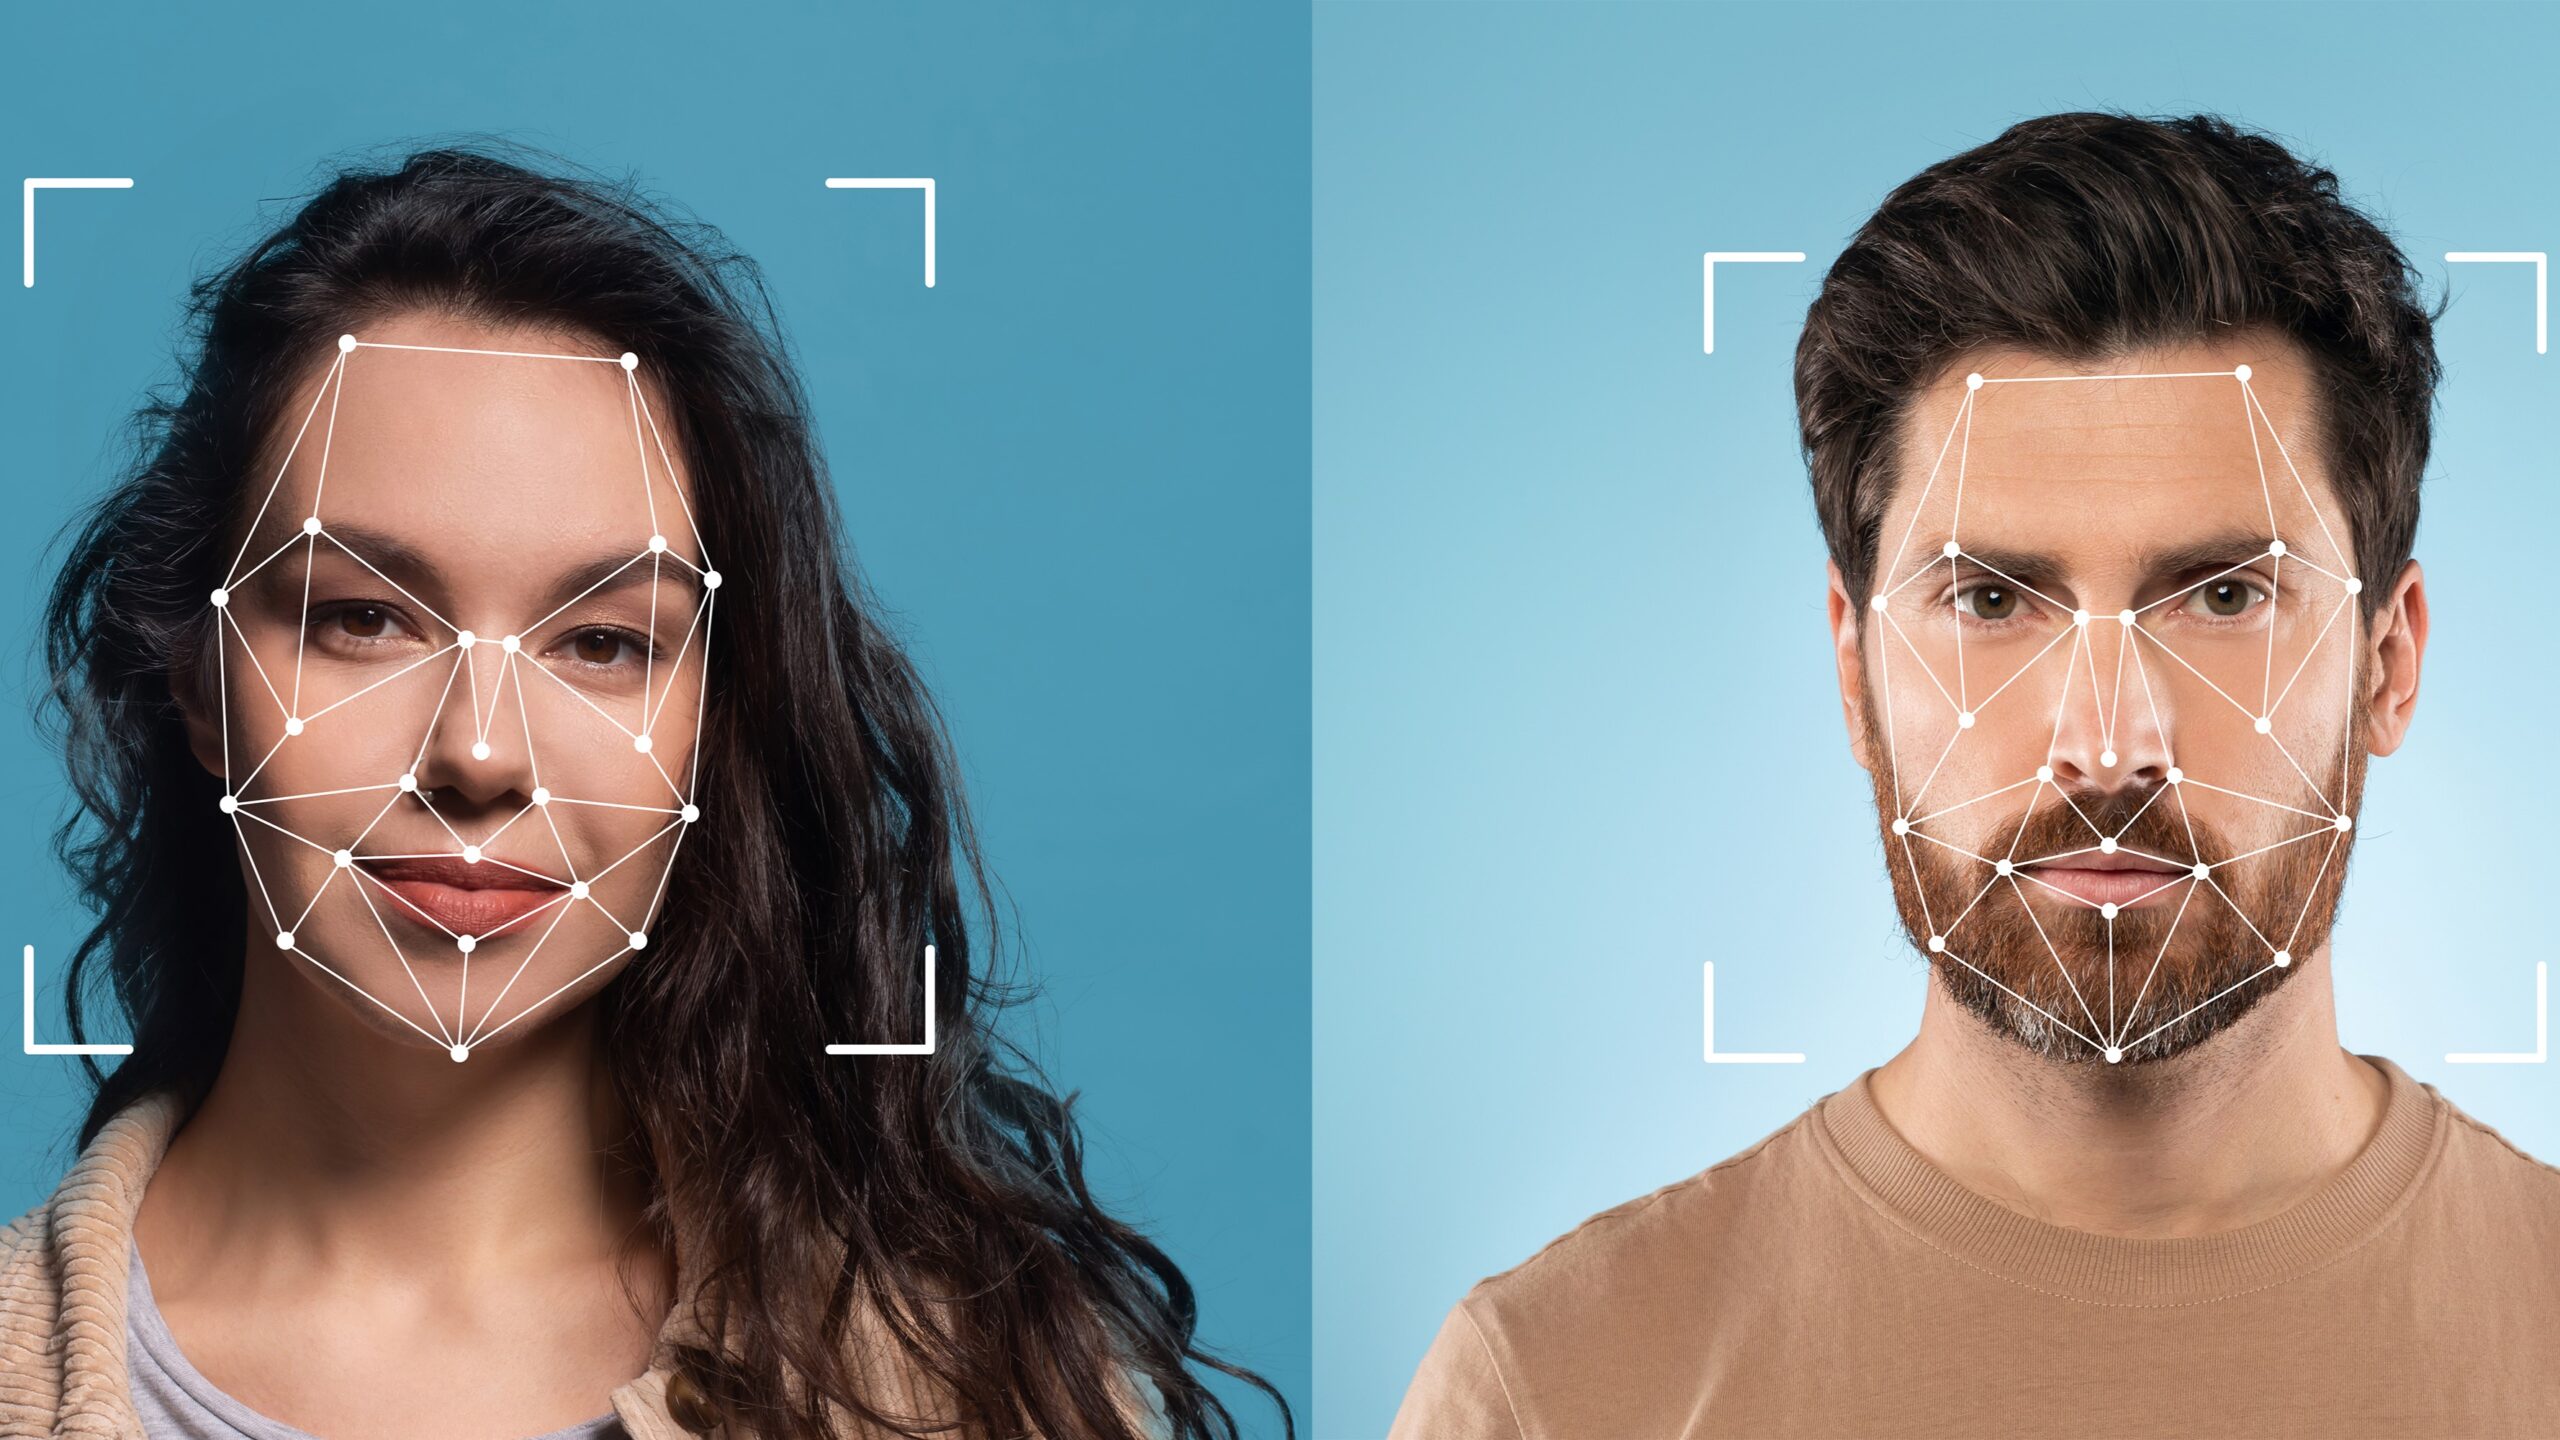
Before diving into the specifics of how to take the perfect photo, it’s important to understand what biometric guidelines are and why they matter. Biometric photos serve as a way to capture the distinct physical features of an individual to create a reliable form of identification. These features, such as the face and eyes, are critical in ensuring accurate identification, especially when using automated systems or facial recognition technology. Without these guidelines, a photo may not meet the required standards for such systems, making it difficult or impossible to process for identification purposes.
These photos are typically used in official documents like passports, visas, identity cards, and driver’s licenses. Governments and organizations require these images to adhere to strict standards to maintain security and prevent fraud. For example, facial recognition software needs to accurately recognize the individual’s face in various contexts, such as at security checkpoints, during border control, or when accessing secured areas. If the photo doesn’t meet the required guidelines, it could be rejected, causing delays in processing documents and identification checks.
The guidelines aim to standardize the photo quality and positioning to ensure that all biometric photos are clear, consistent, and easy to process. This means the photo should be sharp, with no blurring or distortion, and the person’s face must be fully visible, with no shadows or obstructions. The uniformity of biometric photos across different individuals helps ensure that the systems used to recognize and compare faces can function effectively and accurately.
The importance of these guidelines cannot be overstated. With the rise of automated identification systems, biometric photos must meet specific requirements to ensure they can be processed by technology without error. Without standardized guidelines, there could be discrepancies in the way photos are interpreted, leading to issues in security and identification processes. Thus, understanding and adhering to biometric photo guidelines is crucial for creating a reliable and secure system for personal identification.
Key Features of a Biometric Photo
To ensure your photo meets the biometric guidelines, it must adhere to specific features. Here’s a detailed list of those essential characteristics:
- Neutral Expression: Your facial expression should be neutral, meaning no smiling, frowning, or exaggerated emotions. Your mouth must remain closed, and your face should not show any signs of stress or tension.
- Eyes Open: Both eyes must be open and clearly visible. The photo should show your eyes without any glare or reflections, and there should be no shadows obstructing your eyes.
- Face Fully Visible: The entire face should be clearly visible, without any hair or accessories obscuring the face or eyes. This ensures that the facial recognition systems can accurately capture and process your unique features.
- Correct Lighting: Proper lighting is essential for capturing the details of your face. The light should be evenly distributed to avoid harsh shadows, overexposure, or underexposure. The goal is to highlight the face clearly without any areas being too dark or too bright.
- Proper Framing: The photo should be framed correctly, with your head and shoulders centered in the image. There should be enough space around your head to avoid cropping, and the proportions should fit the required dimensions without distortion.
- Background: The background should be plain and light-colored, typically white or a pale shade, to provide high contrast against the face. A cluttered or dark background can interfere with the photo’s clarity, making it harder for facial recognition software to distinguish your features.
Step-by-Step Guide to Taking a Biometric Photo
| Step | Action | Key Considerations | Tips | Equipment Needed |
| Prepare Your Camera and Equipment | Ensure you have the right equipment ready. | Use a good quality camera to capture a clear image, and ensure the camera is steady. | Use a tripod or camera stand to stabilize the shot. | Camera (smartphone or professional), Tripod or Camera Stand |
| Choose the Right Background | Select a plain, light-colored background. | Avoid patterned, overly bright, or dark backgrounds that can obscure facial features. | If indoors, use a plain wall or hang a white sheet behind you. | Plain wall or white sheet for background |
| Position Yourself Correctly | Position your body and face properly. | Keep your head straight, face forward, and avoid tilting or turning. Ensure your eyes are fully open. | Stand straight and maintain a neutral, relaxed expression. | None |
| Lighting and Shadows | Ensure proper lighting to avoid shadows. | Use soft, diffused light to prevent harsh shadows and ensure even lighting. Avoid overhead lighting. | Natural light near a window works well if available. | Softbox lights or natural light sources |
| Take the Photo | Capture the image ensuring proper framing. | Ensure your head is centered with your face filling the frame, leaving space at the top. | Take multiple shots to have options for the best photo. | Camera |
Technical Specifications for Biometric Photos
Most biometric photos must meet specific size requirements, which can vary depending on the country or institution. However, there are some general standards that are commonly followed. The standard photo dimensions for biometric photos are typically 2 x 2 inches (51 x 51 mm). This size ensures that the image captures all the necessary facial features clearly while adhering to the guidelines set by most authorities. In addition to the overall photo size, the positioning of the head within the frame is crucial. Your head should be centered in the photo, with a certain amount of space above your head, typically between 1 and 1.5 inches (25 mm to 38 mm), to ensure proper framing.
Another important aspect is the size of the head in the photo. The head should measure between 1 and 1 3/8 inches (25 mm to 35 mm) from chin to crown. This ensures that the face is clearly visible and that it meets the requirements of facial recognition systems. If the head is too small or too large in the frame, the image may be rejected. Maintaining proper proportions is key to meeting biometric guidelines.
When it comes to resolution and quality, a high-resolution photo is essential. This prevents pixelation and ensures that the image is clear and sharp. A minimum resolution of 600 dpi (dots per inch) is typically recommended. This allows the software to accurately process the facial features without distortion. It is also important to avoid using filters or heavily editing the photo. Filters can alter the natural appearance of your face, making it difficult for facial recognition systems to work effectively.
The color and contrast of the photo also play an important role in meeting biometric standards. The skin tone should appear natural, without any exaggerated warm or cool tones. If the colors in the photo are off, adjusting the lighting or camera settings can help achieve a more accurate result. Furthermore, the background should have high contrast with the face to ensure that the facial features are easy to distinguish. A plain, light-colored background works best in achieving this contrast, making it easier for both human and automated systems to identify the person in the photo.
Common Mistakes to Avoid
- Smiling or Frowning: Ensure you maintain a neutral expression. Smiling, frowning, or showing other exaggerated expressions can cause the photo to be rejected.
- Glasses Reflection: If you wear glasses, make sure there is no reflection or glare that could obscure your eyes, making the photo unusable.
- Inconsistent Background: The background should be plain and simple. Avoid any patterns or clutter that could distract from your face.
- Incorrect Head Position: Always keep your head straight and facing directly towards the camera. Tilting your head can result in an improperly framed photo.
- Poor Lighting: Ensure the lighting is even and soft. Avoid shadows, glare, or overexposure, as these can distort the image and make it difficult to identify you.
How to Edit a Biometric Photo
| Step | Action | Key Considerations | Tips | Tools/Software |
| Crop the Photo | Use photo editing software to crop the image. | Make sure the photo is 2 x 2 inches (51 x 51 mm). Ensure the head is centered and properly framed. | Double-check that there’s space above your head (1-1.5 inches). | Adobe Photoshop, GIMP, Online Croppers |
| Adjust Brightness | Modify the brightness if the photo is too dark or light. | Ensure your face is clearly visible and that the lighting looks natural. | Don’t overexpose or underexpose the photo; maintain natural skin tones. | Photoshop, Lightroom, Online Tools |
| Correct the Contrast | Adjust the contrast between the face and the background. | The background should be light-colored to ensure good contrast with your face. | Ensure the contrast is strong enough to clearly distinguish your face. | Photoshop, GIMP, Online Editors |
| Avoid Altering Features | Do not change facial features or expressions. | Keep the photo natural and ensure your expression is neutral. | Never use filters or make excessive edits to the face. | N/A |
Using Online Tools to Check Your Photo
In today’s digital age, there are several online tools available that can help ensure your biometric photo meets all the necessary guidelines. These tools are designed to analyze your photo based on several key factors such as background, lighting, head position, and facial expression. By uploading your photo, these tools provide feedback on whether your image complies with the standards required for biometric identification.
One of the key advantages of using online tools is that they can detect issues like poor lighting, shadows, or an inconsistent background. If your photo has any flaws, these tools will highlight them and suggest adjustments, helping you avoid common mistakes. This can save time and effort, ensuring that your photo is correctly formatted before submission.
Some online tools also offer cropping and resizing features, allowing you to adjust the photo to the exact dimensions required for biometric photos. For example, you can crop your photo to the standard 2 x 2 inches size, adjust the head positioning, and ensure that the photo’s aspect ratio meets the required specifications.
While online tools can help streamline the editing process, it’s important to remember that they only provide a guideline. Ultimately, it’s your responsibility to ensure that the photo adheres to the specific requirements of the institution or country you’re submitting it to. Always double-check your photo manually after using these tools to make sure everything is in order before final submission.
Hiring a Professional Photographer
- Expert Knowledge of Biometric Guidelines: Professional photographers have extensive experience in capturing passport and ID photos. They are familiar with the specific guidelines and requirements set by government agencies and institutions. This includes knowing the precise dimensions for the photo, the correct facial expression, head positioning, and other technical aspects that are often difficult for a layperson to get right. By hiring a professional, you can ensure your photo is fully compliant with the standards, reducing the likelihood of rejection or having to retake it.
- Access to High-Quality Equipment: A professional photographer uses advanced camera equipment and studio lighting, which significantly enhances the quality of the photo. They understand how to use their equipment to achieve the correct exposure, avoid shadows, and ensure that the image is clear and sharp. In addition, professionals have access to tools and setups that might not be available to the average person, such as softboxes for even lighting and high-resolution cameras that can capture every detail of your face.
- Precise Framing and Positioning: One of the challenges when taking biometric photos is ensuring that the subject is properly framed and positioned within the image. Professional photographers know exactly how to center your head and ensure it falls within the required size range (1-1.5 inches from chin to crown). They will make sure that your face is fully visible, with no hair covering your eyes or face, and that your shoulders are included but not out of focus. They also understand the exact distance you need to maintain from the camera to meet the specified dimensions for biometric photos.
- Guidance for a Neutral Expression: Biometric photos require a neutral expression without any exaggerated facial features like smiling or frowning. A professional photographer will guide you to maintain the right facial expression, ensuring that you do not inadvertently tilt your head, raise your eyebrows, or show any signs of emotion. This is important because even small facial changes can lead to a photo being rejected. They will also ensure that your eyes are open and fully visible, without any glare from glasses if you wear them.
- Time-Saving and Stress-Free: Taking your own biometric photo can be time-consuming, as you may need several attempts to get the lighting, positioning, and expression right. By hiring a professional photographer, you eliminate much of this trial and error. You won’t have to worry about setting up equipment, adjusting lighting, or checking whether your photo meets the requirements. The photographer will take care of all of this for you, saving you time and effort.